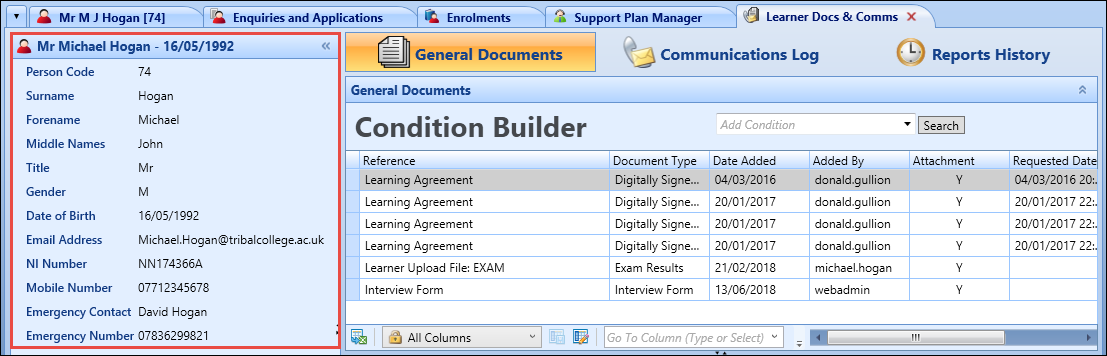
You can maintain the document and communication records for the learner by selecting the Learner Docs & Comms tab.

This will open the Learner Docs & Comms tab, with the General Documents sub-tab displayed by default.

From the Learner Docs & Comms tab, you can:
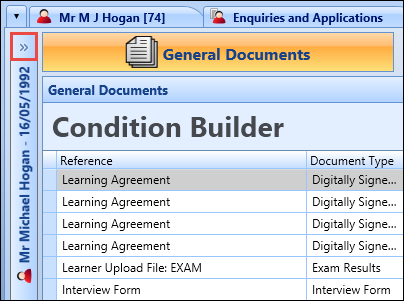
You can view details of the selected learner in the Learner panel.
To view the Learner panel, select the Expand button on the left-hand side of the screen.
The Learner panel will display details of the selected learner in a read-only view.
You can add document records providing that the document type is configured for learners in the Document Types reference data.
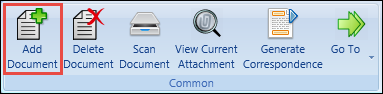
To add a document:
-
Select the Add Document button on the Documents and Communications ribbon.
-
Enter the details for the document in the General Document Details section.

The fields in the General Document Details section are described in the following table.
| This field | Holds this information... |
|---|---|
| Reference | The reference number of the document record. |
| Document Type | The document type. Select from the drop-down list. Learner document type records are set up in the Document Types reference data. |
| Date Added | The date the document record was added (read-only). This defaults to the current system date. |
| Attachment | You must add an attachment to the document record. Select the Upload File button to display the Open window, where you can select the required file. |
| Requested Date | The date a learner was requested to sign the document. |
| Received Date | The date a signed learner document was received. |
| Signature Status | The signature status for the document (for example: requested). |
| Comments | Additional comments regarding the learner signature (for example: rejection reason). |
-
Select Save .
The document record is added.
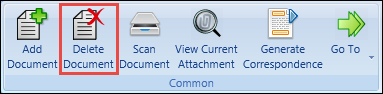
To delete a document:
- Select the required document record in the General Documents grid.
-
Select the Delete Document button on the Documents and Communications ribbon.
The Delete Document message is displayed.
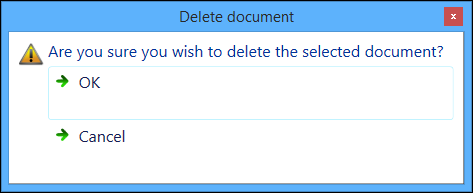
-
Select OK to delete the selected document.
The document record and attached document are deleted.
To view the document attached to a record:
- Select the required document record in the General Documents grid.
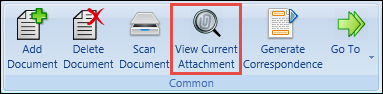
-
Select the View Current Attachment button on the Documents and Communications ribbon.
 Important.Alternatively, select the document record in the General Documents grid.
The Learner Docs & Comms window is displayed.

- Select one of the following options:
- Open - opens the attached file in the appropriate program (for example: Adobe Reader)
- Save - displays the Save As window, where you can save the file to the required location
- Save and Open - displays the Save As window, where you can save the file to the required location, and then opens the file
- Cancel - closes the Learner Docs & Comms window with no other action
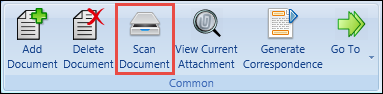
-
Select the Scan Document button on the Documents and Communications ribbon.
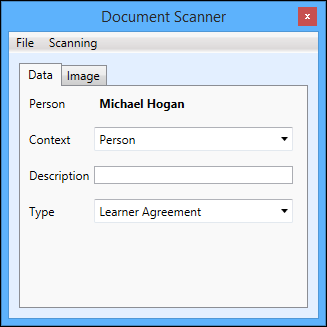
The Document Scanner window is displayed.
| This field | Holds this information... |
|---|---|
| Person | The Person field is automatically populated with the selected learner. |
| Context | The context of the document (for example: Person). Select from the drop-down list. |
| Description | The description of the document. |
| Type | The type of document. Select from the drop-down list. |
| Application/Enquiry/Enrolment | If a context of Application, Enquiry or Enrolment is selected, the corresponding field is displayed which contains any applications, enquiries or enrolments for the learner to associate with the document. |
-
Select the Scanning option at the top of the window, and select Acquire Image via TWAIN or Acquire Image via WIA depending on the scanner you are using.
Important.TWAIN integration is only available in 32-bit Client.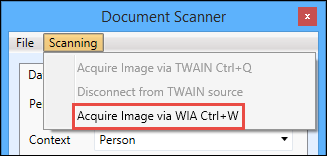
-
Scan the document using the selected scanner.
Important.You can scan documents with multiple pages if the scanner supports this. If the scanner cannot scan multiple pages, a prompt is displayed so users can scan another page as part of the same process and merge the pages into a single document when all the required pages are scanned.When the document is scanned, the Image tab is displayed.
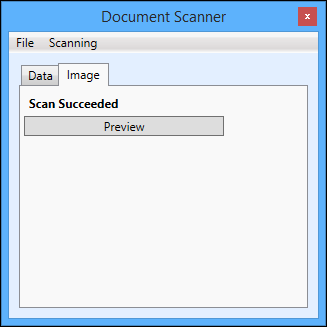 Important.You can select the Preview tab to preview the document.
 -
Select the File option at the top of the window, and select Save .
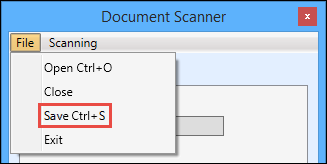
The scanned document is uploaded to EBS.
When the Document Scanner window is closed, the newly scanned document is displayed on the General Documents tab on refreshing the screen.
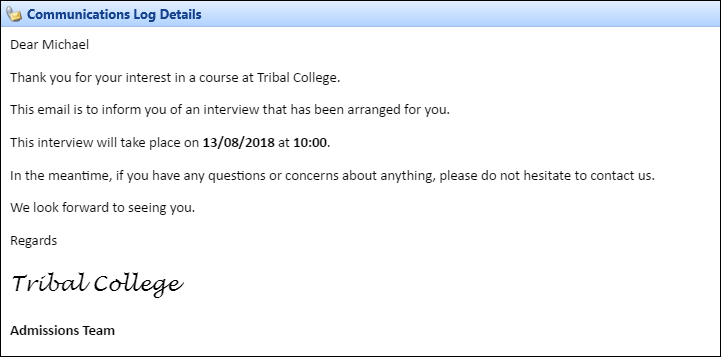
You can view the details of communications for the learner by selecting the Communications Log sub-tab.

This will display communications sent to the learner from Ontrack Staff Hub, Ontrack Learner Hub or recorded against the learner in the Learner Log in the grid.
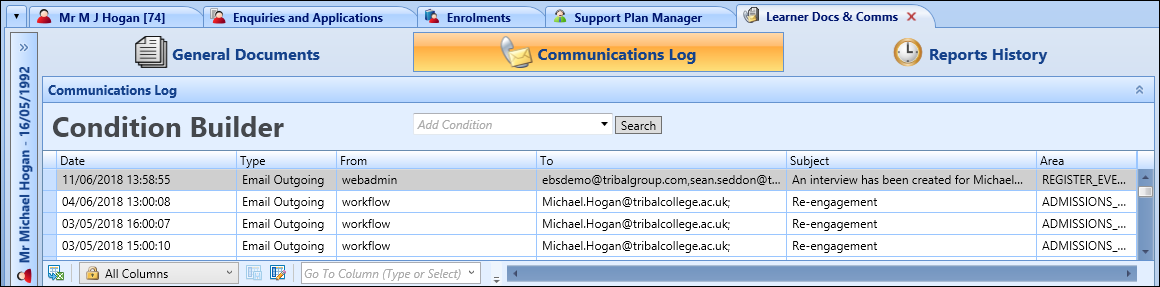
Selecting a communication record in the grid displays the details in the Communications Log Details section.
You can view reports for the learner by selecting the Reports History sub-tab.

This will display all reports that have been run for the learner in the grid.
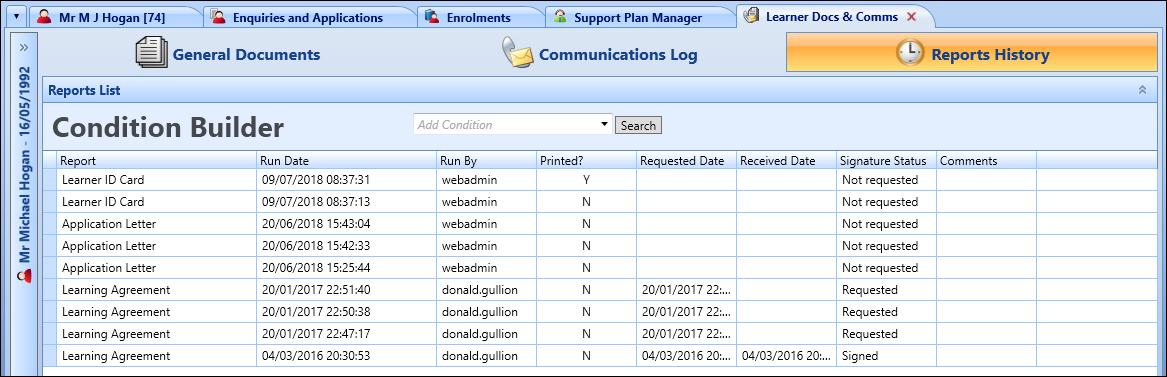
You can also view the document attached to a report (if available) by selecting the View Current Attachment button on the Documents and Communications ribbon or selecting the report record in the Reports List grid.